How to install WordPress plugins
Installing WordPress plugins is a simple process that can enhance your website in various ways. Plugins are tools that add new features to your WordPress website, such as contact forms, social media sharing buttons, or e-commerce functionality. In this blog post, we will walk you through the steps of installing WordPress plugins.
Step 1: Log in to your website
This one is a given.
Step 2: Go to the plugins section
Once you’re logged in, you need to go to the plugins section. You can find this by clicking on the “Plugins” button on the left side of the screen.
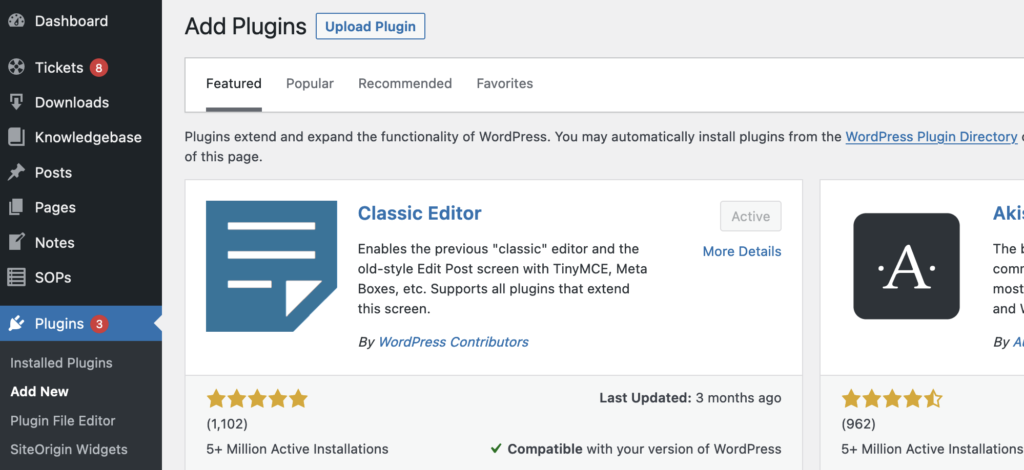
Step 3: Click “Add New”
In the plugins section, you’ll see a button that says “Add New”. Click on that button.
Step 4: Search for a plugin
Now you’re on the “Add Plugins” page. You can search for a plugin by typing in its name in the search bar.
Step 5: Install the plugin
Once you’ve found the plugin you want, you need to click the “Install” button. It might take a little bit for the plugin to finish installing, but don’t worry, it’s just working away.
Step 6: Activate the plugin
After the plugin is done installing, you need to activate it. To do this, just click the “Activate” button.
And that’s it! You’ve now installed a WordPress plugin and made your website even better!